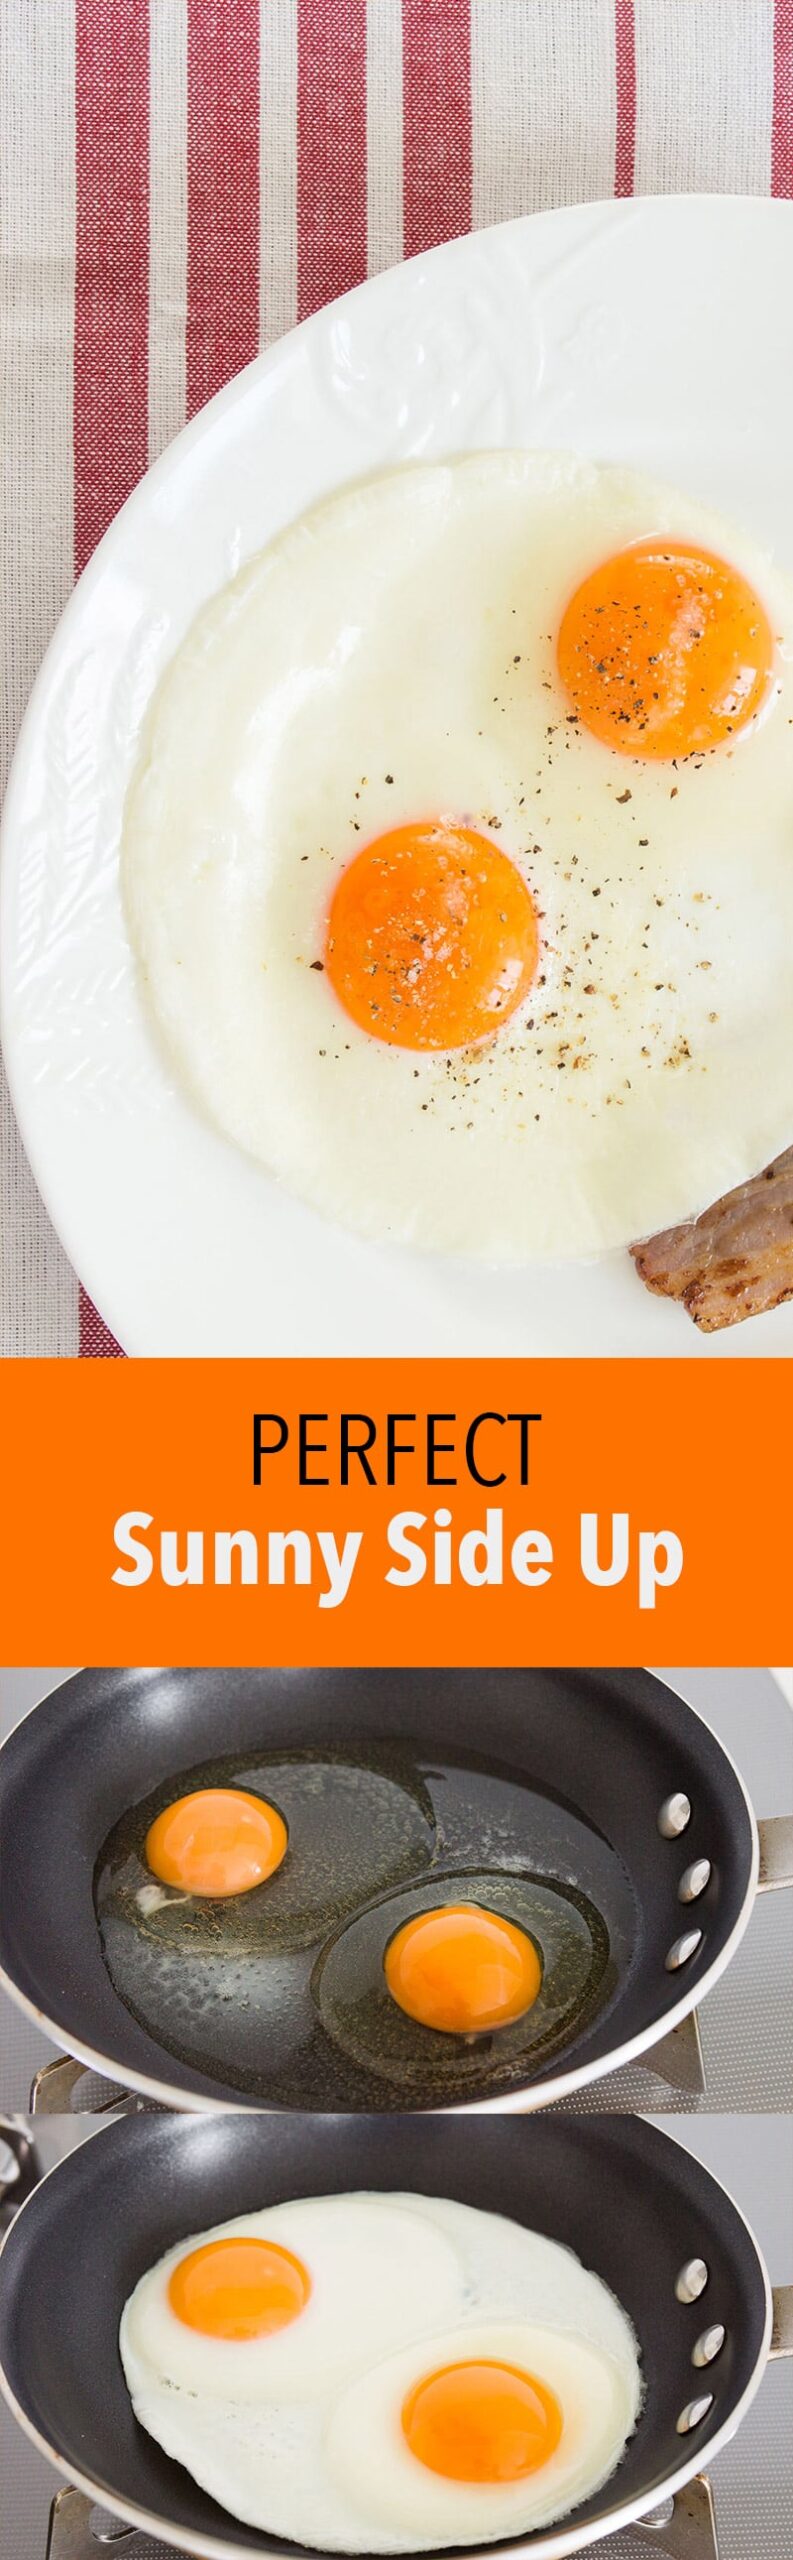
Please excuse the braggadocio, but these are the best sunny side up eggs I've ever had. With fully cooked whites that are tender from top to bottom, and a thick yolk that flows like warm ganache, it takes the best parts of a poached egg and combines them with the ease and beauty pageant good looks of eggs sunny side up.
I've covered my techniques for the perfect boiled egg, perfect poached egg, and perfect scrambled eggs before, but a technique to cook eggs cooked sunny side up has been notably absent. That's because I've never been a huge fan of them.
Since sunny side up eggs are pan-fried, they almost always involve a raw yolk perched atop a tough disk of albumen. It's a bit like chewing through a sheet of plastic wrap that's been doused with raw egg yolk. Don't get me wrong, I love a runny yolk, but I want it rich and viscous, not lukewarm and watery. Doing the egg over-easy may fix the watery yolk, but it doesn't do the egg any favors in the aesthetic department and it only makes the plastic-like texture of the white even worse.
That's why I tend to gravitate towards poached eggs and their evenly cooked whites and soft creamy yolks. Still, not one to shy away from a challenge, I wanted to see what could be done to make sunny side up eggs better. Well, after some experimentation I can tell you that the trick is to not fry them.
Frying an egg over high heat drives all the moisture out of the layer of egg white that's in contact with the pan, making it tough and chewy. That's why my first experiment was to lower the heat. The problem with cooking them over low heat is that, by the time the white had fully cooked, the yolk had almost fully set as well.
Deciding I needed another approach, I turned to how my mom fries eggs. Her method involves frying them first, and then adding a bit of water and covering the pan with a lid. This sort of works, giving you an evenly cooked egg because the steam created applies heat from above and below. The problem is that you need a relatively high temperature to create the steam and then evaporate the water, so you still end up with a chewy layer on the bottom. What's worse, the residual water makes the eggs soggy.
Still I couldn't help but feel my mom was onto something with applying heat from both above and below. That's when it occurred to me that what I needed was a way to apply dry heat, like inside an oven.
To control the application of heat to the eggs, I start them off in a cold pan. Since the bottoms of the eggs need to get cooked slightly more than the tops, I put the cold pan over low heat to give the egg whites a head start. When the albumen starts turning opaque, they go into a pre-heated oven until they're almost entirely cooked through. Finally, by sticking the pan back onto the stove for a brief moment, it evaporates the moisture between the egg and the pan, allowing you to cleanly slide the egg out of the pan and onto a plate.
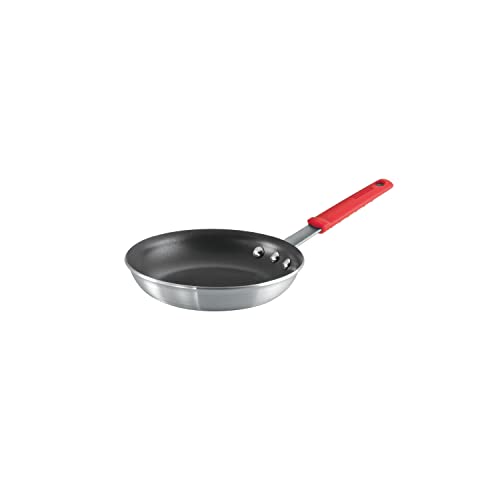
Because the eggs are added to a cold pan, it's absolutely essential that you use a non-stick pan. Otherwise you'll have some beautifully cooked sunny side up eggs that stick to the pan like chewing gum on a warm sidewalk.
Other Perfect Eggs
- Perfect Poached Eggs
- Best Scrambled Eggs
- Perfect Boiled Eggs
- The Perfect Frittata
- Soft-boiled Eggs In a Cheddar Chive Biscuit
📖 Recipe

Equipment
Units
Ingredients
- cooking spray
- 2 eggs
Instructions
- Place your oven rack in the middle position and preheat to 320 degrees F (160 C).
- Spray a thin even coat of cooking spray onto an 8" (20cm) non-stick frying pan with an oven-safe handle.
- Carefully break 2 eggs into the cold pan.

- Place the pan over low heat and cook the eggs until the bottom just starts turning opaque.
- Place the pan in the oven and cook the eggs until the white is almost completely set (about 3-4 minutes).
- To help release the egg from the pan, return the pan to the stove for a few seconds over medium-high heat until you see the edges start to pull away from the pan.


Dee Licious says
You had me at "like chewing through a sheet of plastic wrap"! I guess some people like it. I too, do not! Poached or scrambled (wet) were always my go to. Most recipes don't spell out specific details as posted here, and I commend you! This is the perfect way to achieve tender whites and a warm yolk. Thank you for "cracking" the code!
Marc Matsumoto says
Yea, it seems to be a polarizing issue. Hope this works for you. I'm actually working on a foolproof method to make ridiculously creamy scrambled eggs, so stay tuned!
XM123 says
This was perfect! I didn't use a nonstick pan and the eggs released beautifully-in fact, that's how I knew they were done when I was peeking through the oven door, because they started to release themselves around the edges. The best part was NO SLIMY WHITES! Thank you so much for this method!
Marc Matsumoto says
Hi XM123, I’m glad to hear it worked out for you, even without a nonstick pan. Was it stainless steel, seasoned cast iron, or something else? Thanks for taking the time to stop by to let me know. If you need techniques for other types of eggs, I have tutorials for most them😉
XM123 says
It was stainless steel! I've been meaning to try it with a nonstick pan just to experiment.
Michael Hernandez says
I have spent years trying to make a perfect sunny-side egg and have had some success
MG_Siegler says
Alternatively:
Put two tablespoons of cold water in a bowl, mix it with some salt to taste, crack two eggs in that bowl, do not mix and be careful not to puncture the yolks, slowly pour in a pan on a cooker on it's lowest setting available with the water. It will cook after 5-8 minutes depending on the viscosity of the yolk that you want.
THE TRICK: Some water to keep the whites moist and the lowest setting on a cooker.
MG_Siegler says
It is a kind of a sunny-side-up what he tried to explain in his partner's method though!
godstatusfurion says
wtf does that have to do with sunny side up eggs LMFAO nobody cares about your partner
Jessica says
This is fantastic. My fiance raved that the eggs were the best he'd ever had. They came out perfect on the first try.
mike says
Worked perfectly and I didn't even use a non-stick skillet!
Marc Matsumoto says
Glad to hear your daughter enjoyed them!
MNLakesDiver says
This nailed it for our 8 y.o. Great method as far as it became a "show" and her eggs were the best she's ever had SSU. I also tried it for my eggs, and this nailed it given I haven't had SSU eggs for about 30 years. Thanks!
Joshua Iserhoff says
Use a cover when cooking and watch it you'll know cook on 4-5 glass cover is best as u can keep an eye on it
Darren Tran says
I might be in the minority when I say this but I like the bottom of my sunny side up eggs to be a bit browned and crispy on the bottom. Thus my method is to heat my De Buyer (well seasoned carbon steel) pan on high heat for about a minute. Add in a tiny touch of olive oil (i use a misto spray) with a small dab of butter for some real flavor. Add in my eggs... and immediately reduce the heat to medium. Wait for approximately a minute (I just have an instinct as to when it's done) and it's perfect. It steams with the residual heat so the top is cooked. The yolk is runny and the whites are fully set.
Esther Crocker says
My partner is Spanish and the way he and his parents fry eggs make for delicious, crisp and yet yolky eggs. Heat a generous amount of olive oil in a skillet (probably 3 tablespoons, or about 1 cm high across the pan) until hot, crack an egg into the oil (it will splatter) sprinkle some salt on the yolk and then, with an egg flipper, flick the hot olive oil across the top of the egg to cook it on top. The egg will cook in 45 - 60 seconds, and the white can be flicked over the yolk to keep it neater/smaller. Remove egg from pan, drain on paper towel if you must, and serve over fried potato straws, dipping the chips into the yolk. Or fried green capsicums, or warm toast rubbed with garlic. Not waist friendly, but pretty amazing.
Nancy Long says
if you read the care instructions for non-stick pans, it says to NOT use cooking spray on them and now know why even my expensive ones haven't lasted. I now just rub a bit of oil on them with a paper towel
R says
I have long been frustrated by sunny-side up eggs, never managing to get the white cooked without destroying the yolk. I tried out this recipe this morning and for the first time my eggs were absolutely perfect! Thanks so much!